Alex Hammond
Generate images for Klaviyo campaign
How to generate personalised images for your Klaviyo email campaign
We presume that you have already connected your Imagefactory.io & Klaviyo accounts. If not, please click here for a guide.
1 - Login to your Imagefactory.io account here

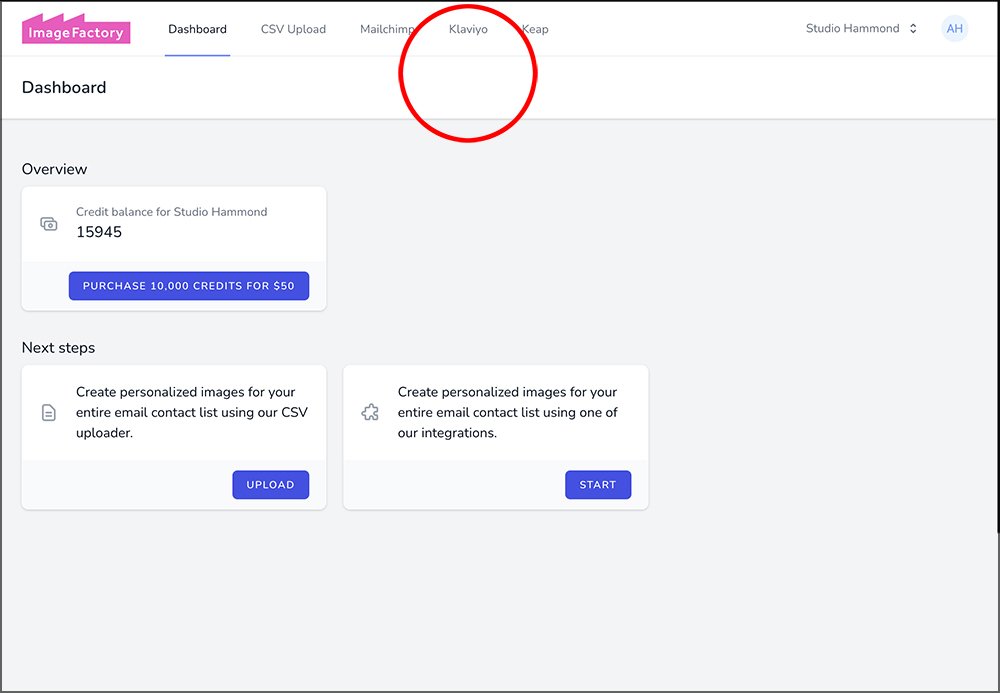
2 - On the top menu select Klaviyo List
3 - Click the blue, NEW JOB button

4 - You will be presented with your existing email lists from within your Klaviyo account. Select the one you wish to generate images for

5 - Select the template you wish to use from the free library. (Custom templates will appear too if you have them) - Click NEXT

6 - If required type in the prefix or suffix boxes, not forgetting to add spaces where necessary. Use the drop-down menu to choose which personalized element should be used. (firstname, second names etc)

7 - Click the Generate button to check your template, prefix, suffix and personalization are correct. (This will use the first contact in your Klaviyo list as a test) - Once happy, click NEXT

8 - Name the new column. This will be where the personalized images will be located within your Klaviyo Audience database. Use captials, avoid spaces or any special characters, remember this, you'll need it later.

9 - Check the summary before clicking CONFIRM - this will begin the process and deduct imagefactory.io credit accordingly.

Imagefactory.io is now processing your images

10 - Once the progress bar hits 100% you can login to your Klaviyo account and see the generated images. See this guide for further support with using Klaviyo & Imagefactory.io